
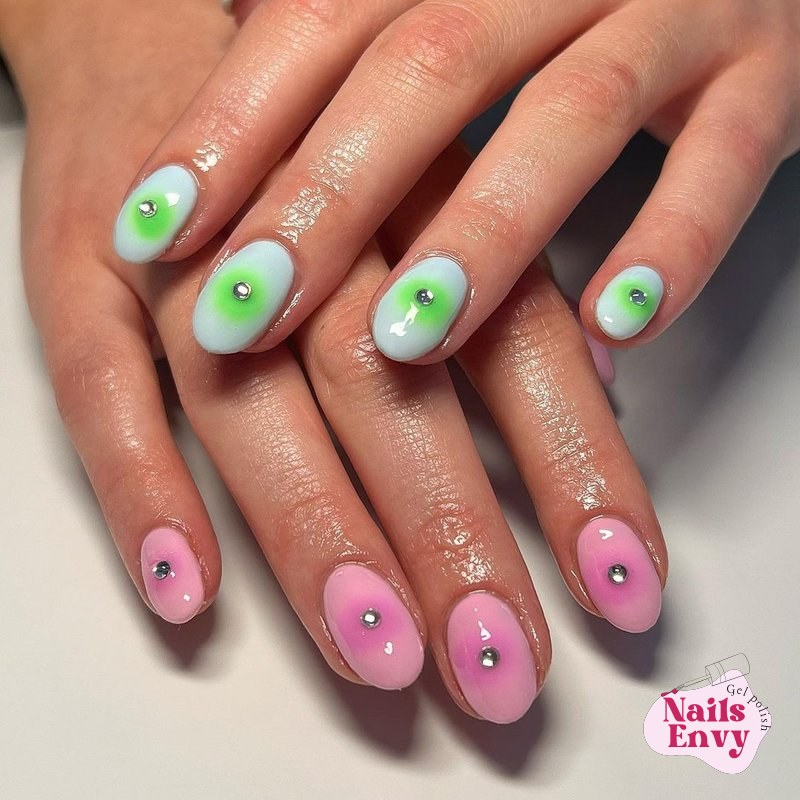
Blooming gel nail polish has revolutionized the world of nail art, allowing for incredibly intricate and artistic designs with surprising ease. This specialized gel creates beautiful, organic spreading effects, perfect for achieving stunning marble, watercolor, floral, and even snakeskin patterns. At Nails Envy, we are passionate about helping you explore the creative potential of this unique product, whether you’re a DIY enthusiast or seeking professional results.
The beauty of blooming gel lies in its ability to react with regular gel polish, causing it to spread and create unique, soft-edged patterns. This innovative product has quickly become a favorite for both professional nail technicians and at-home users looking to elevate their nail art game. If you’re ready to unlock a new level of creativity with your manicures, understanding blooming gel is your first step.
Discovering the magic behind blooming gel nail polish
Blooming gel nail polish is a clear gel specially formulated to create mesmerizing spreading effects when applied over a colored gel polish. Unlike traditional nail art techniques that require precise brushwork, blooming gel does the artistic heavy lifting for you. It’s an excellent choice for anyone wanting to achieve complex designs without extensive training or a steady hand.
The science behind blooming gel is quite fascinating. When a drop of colored gel polish is placed onto a layer of uncured blooming gel, the blooming gel’s unique chemical composition causes the colored polish to spread outwards, creating a soft, feathered, or marbled effect. This allows for an endless array of creative designs, from delicate flowers to bold abstract patterns. You can easily achieve a tortoise effect or a beautiful stone look with minimal effort, making blooming gel an essential tool for diverse nail art.
Understanding how blooming gel creates stunning effects
The unique properties of blooming gel are what make it so special. When you apply a small amount of colored gel polish onto a layer of uncured blooming gel, the pigment within the colored gel begins to react. This reaction causes the color to “bloom” or spread outwards, creating soft, diffused edges and intricate patterns. The longer you wait before curing, the more the design will spread, giving you control over the final look.
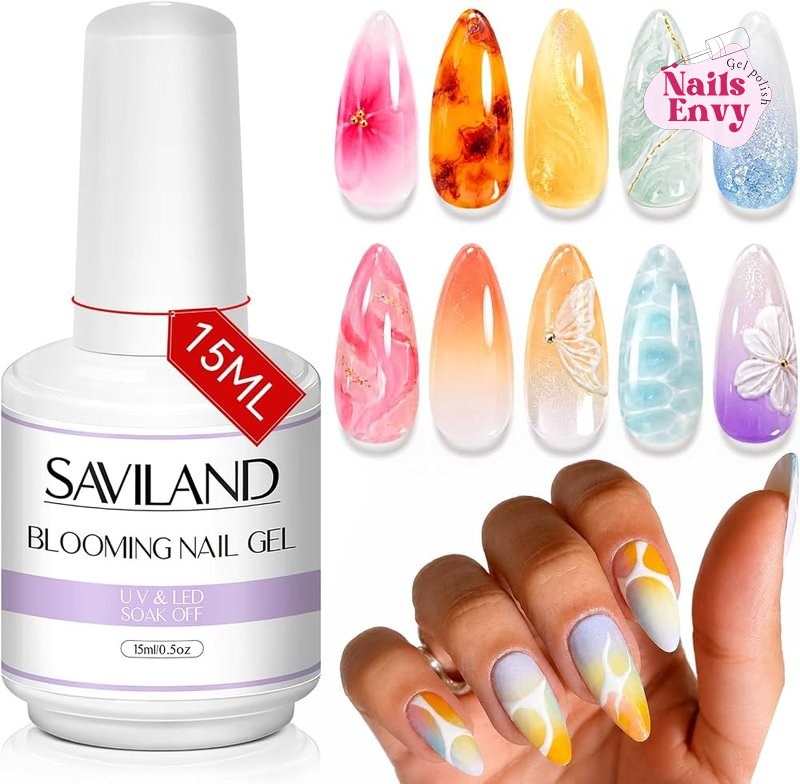
Achieving different effects simply involves varying the amount of colored gel used and the placement of the dots or lines. For instance, tiny dots can create delicate floral patterns, while larger drops or strokes can result in stunning marble or watercolor effects. It’s truly a playground for creativity, allowing you to experiment and discover your own signature blooming gel nail polish styles.
Exploring popular designs with blooming gel
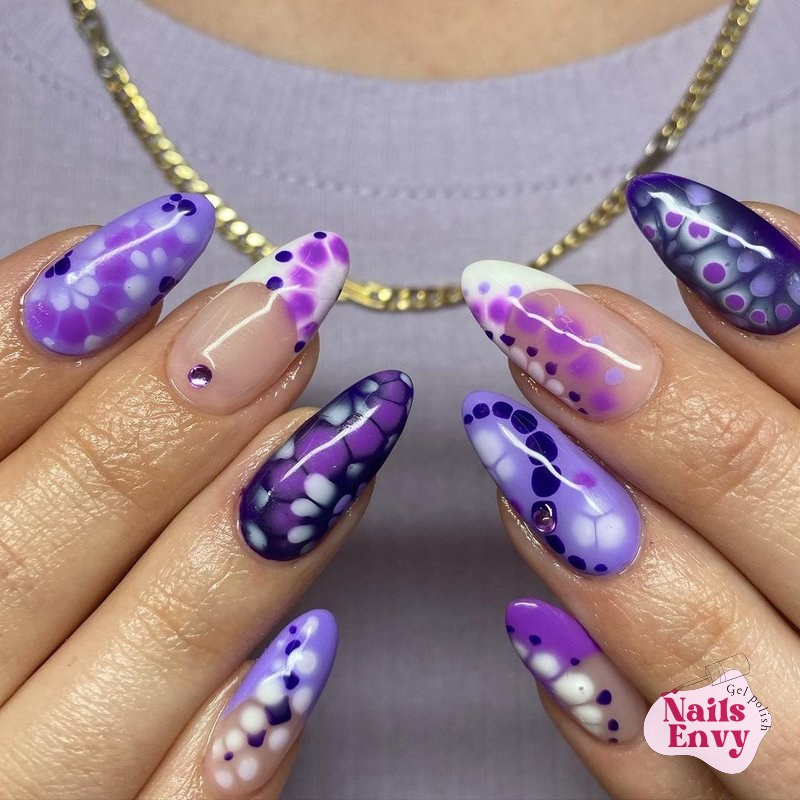
Blooming gel opens up a world of design possibilities. Marble nails, with their elegant swirls and depth, are effortlessly created using this technique. Simply apply dots or lines of colored gel onto the blooming gel and watch them spread into beautiful, organic patterns. Watercolor effects, with their soft, blended hues, are another popular choice that blooming gel excels at producing.
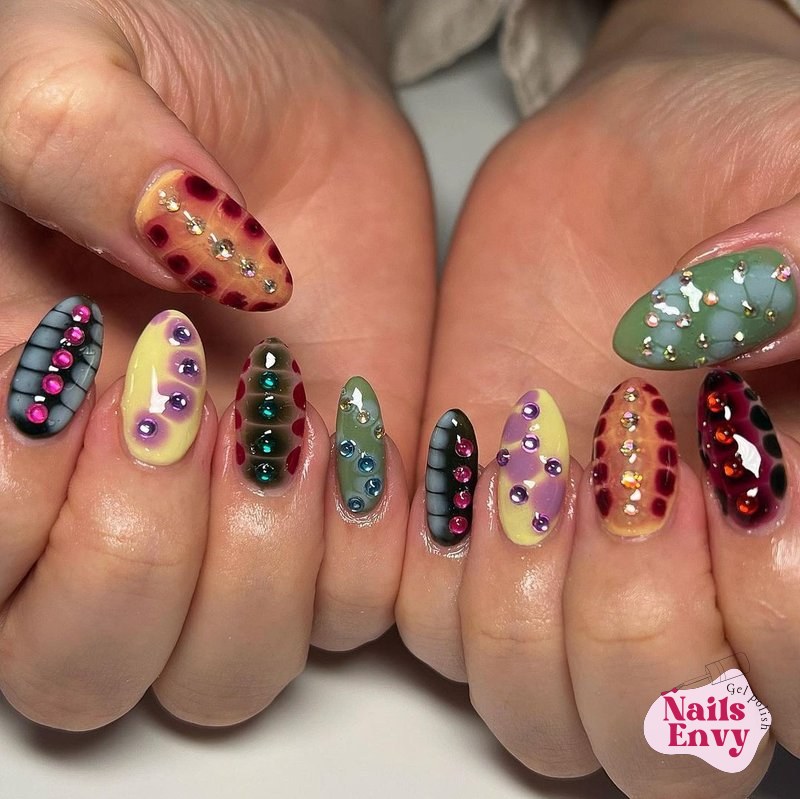
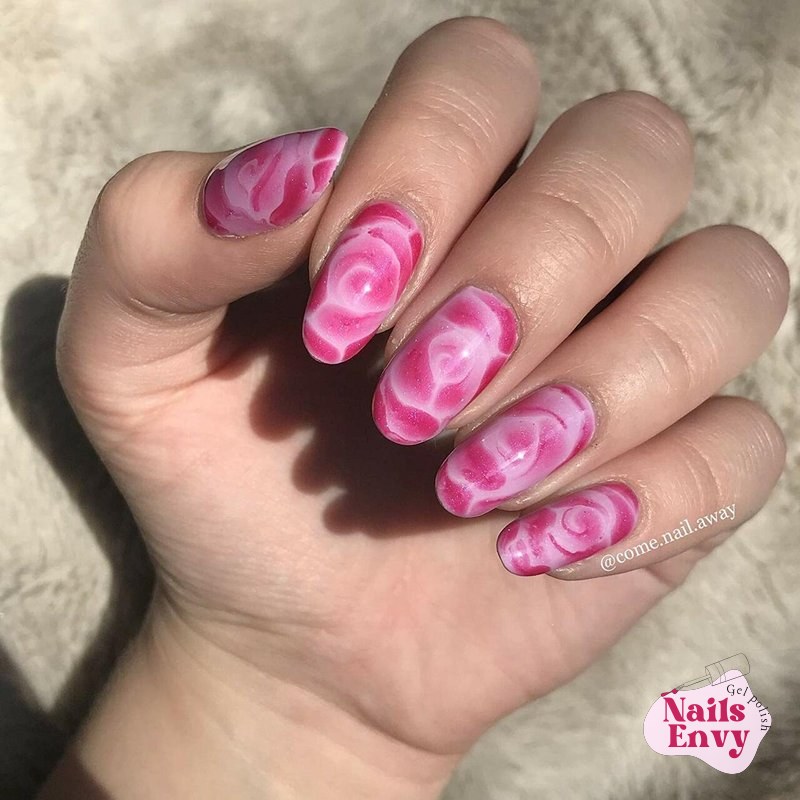
For those who love intricate details, floral designs become surprisingly easy. Place small dots of various colors to create petals, and the blooming gel will naturally soften the edges, giving your flowers a realistic, delicate appearance. Animal prints, such as snakeskin or leopard spots, can also be achieved by strategically placing colored dots and allowing the gel to spread into unique, natural-looking textures. The versatility of blooming gel nail polish makes it a must-have for any nail art enthusiast.
Mastering the application of blooming gel nail polish
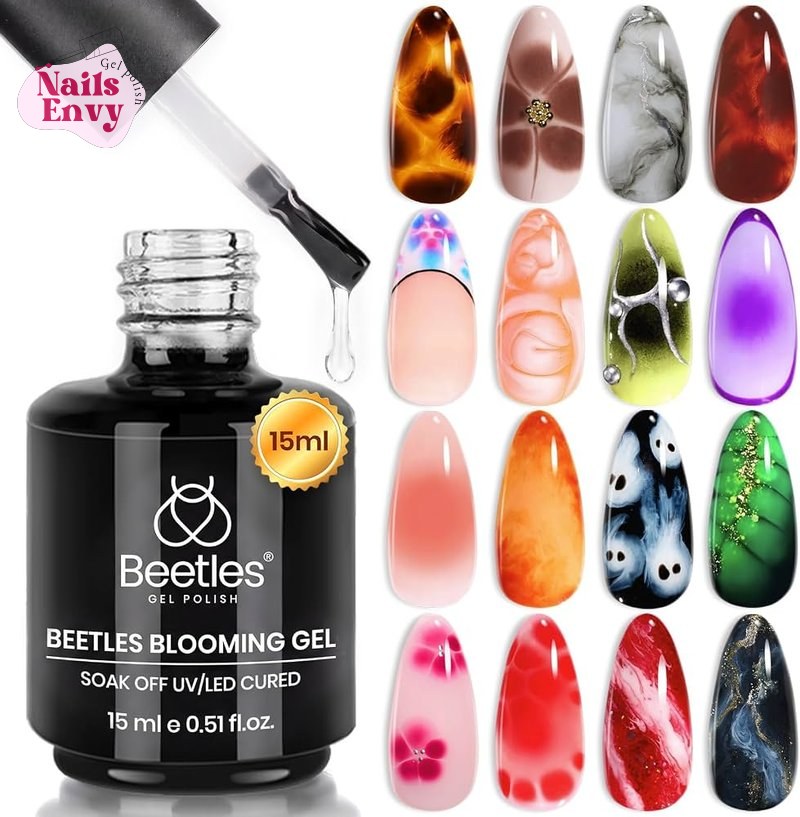
Applying blooming gel nail polish is straightforward, but a few key steps ensure stunning results. Proper preparation of your nails is crucial, followed by the correct layering of base coat, color, blooming gel, and top coat. Understanding the curing process and how different colors react with the blooming gel will significantly enhance your nail art outcomes.
The beauty of this technique lies in its adaptability. You can experiment with various color combinations and application methods to create truly unique designs. Don’t be afraid to practice on nail tips first to get a feel for how the blooming gel reacts and spreads. This will help you achieve your desired effects on your natural nails with confidence and precision. Nails Envy encourages all our clients to explore their creativity with this amazing product.
Step-by-step guide for perfect blooming gel nails
Start with properly prepped nails: clean, filed, and buffed. Apply a thin layer of gel base coat and cure it under a UV/LED lamp. Next, apply your chosen base color gel polish, cure it, and then apply a second layer if needed, curing again. This creates a solid foundation for your blooming design.
Now comes the blooming gel. Apply a thin, even layer of clear blooming gel over your cured base color, but do not cure it yet. Immediately, while the blooming gel is wet, use a dotting tool or a fine brush to place drops or lines of a contrasting colored gel polish onto the blooming gel. Watch as the colors begin to spread and blend, creating your desired pattern. Once you’re happy with the design, cure your nails under the lamp, then finish with a gel top coat and cure one last time for a lasting, glossy finish.
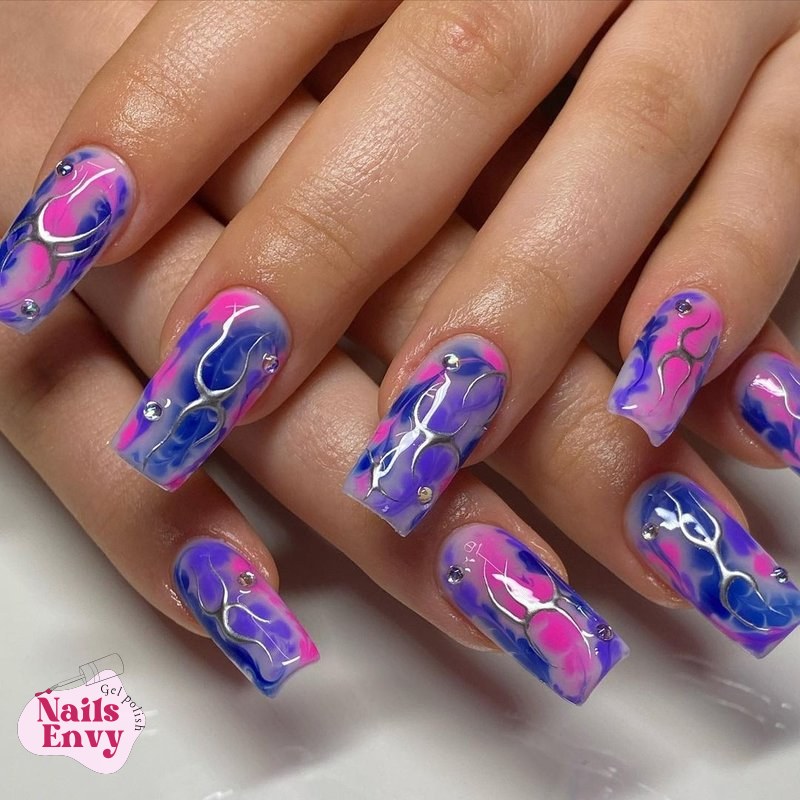
Tips and tricks for flawless blooming gel art
For the best results with blooming gel nail polish, timing is everything. Work quickly after applying the blooming gel, as it starts to spread immediately. Experiment with the consistency of your colored gel polish; some polishes spread more readily than others. If your design isn’t spreading enough, try a thinner layer of blooming gel, or use a slightly less viscous colored gel.
Consider the contrast between your base color and the colors you’re using for the blooming effect. High-contrast colors tend to create more dramatic and defined patterns. Don’t overload your brush or dotting tool with too much color, as this can lead to messy results. A little goes a long way with blooming gel. Practice makes perfect, so don’t be discouraged if your first attempt isn’t exactly what you envisioned.
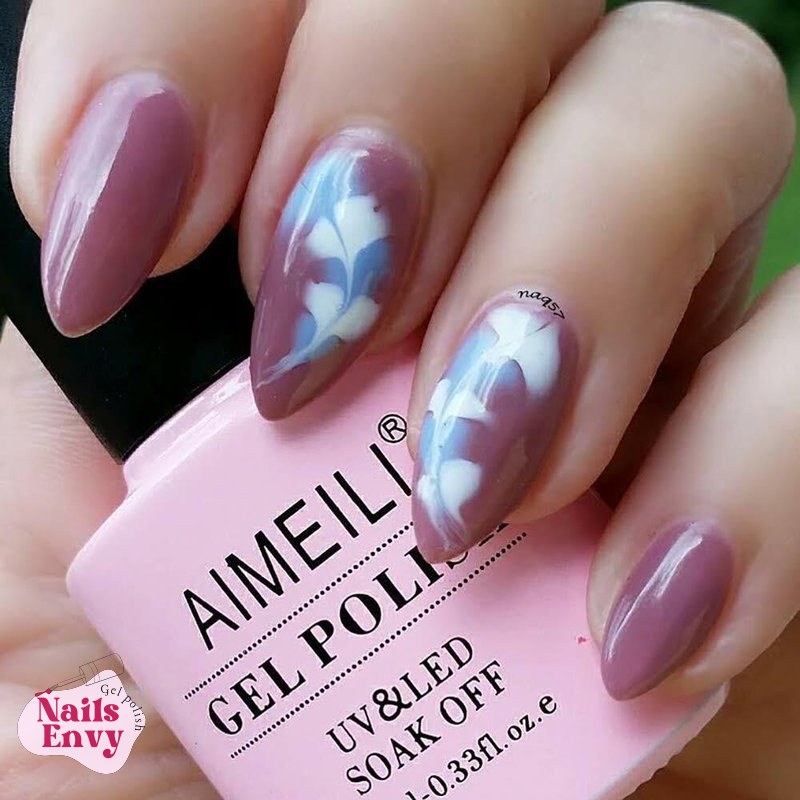
Comparing blooming gel with other nail art techniques
Blooming gel nail polish stands out from other nail art techniques due to its unique ability to create organic, spreading patterns effortlessly. While techniques like hand-painting require significant skill and precision, blooming gel simplifies the process, making intricate designs accessible to everyone. This table highlights some key differences:
| Technique | Description | Skill Level | Typical Effects |
|---|---|---|---|
| Blooming Gel | Creates spreading, fluid patterns when colored gel is applied to an uncured layer. | Beginner to Intermediate | Marble, watercolor, floral, snakeskin, stone |
| Hand-Painting | Uses fine brushes to draw designs directly onto the nail. | Advanced | Detailed images, intricate lines, realistic art |
| Stamping | Transfers a design from a metal plate using a stamper. | Beginner | Repetitive patterns, geometric shapes |
| Decals/Stickers | Pre-made designs applied directly to the nail. | Beginner | Any design available as a sticker |
As you can see, blooming gel offers a distinct advantage for those seeking artistic, fluid designs without the steep learning curve of hand-painting. Its results are often more organic and natural-looking than the rigid patterns created by stamping or decals, providing a unique aesthetic that is both sophisticated and effortless.
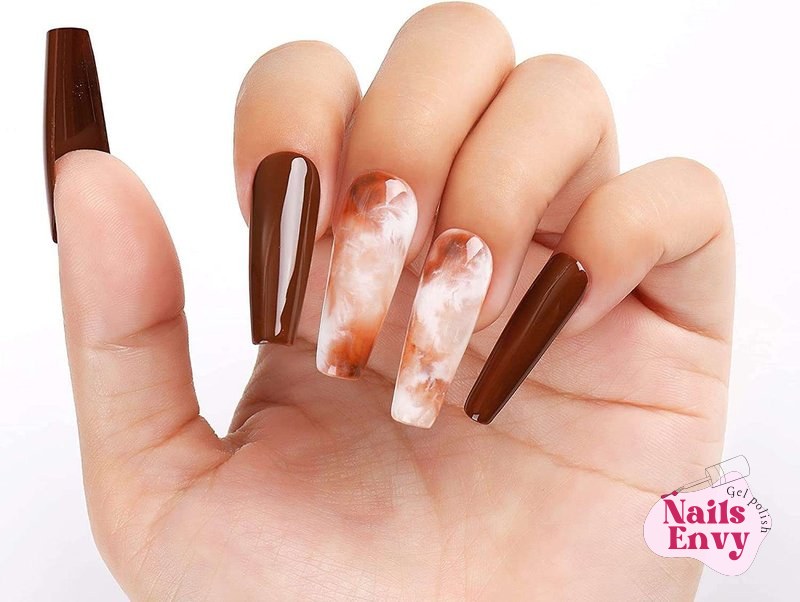
Blooming gel versus traditional freehand nail art
Traditional freehand nail art demands immense skill, a steady hand, and often years of practice to master intricate designs. Artists meticulously draw lines, shapes, and details with tiny brushes, requiring precision that can be challenging for many. The beauty of freehand is the complete control it offers over every stroke, leading to highly personalized and unique creations.
Blooming gel nail polish, on the other hand, embraces controlled chaos. Instead of drawing, you’re guiding a reaction. The gel does the “spreading” for you, allowing even beginners to create complex, organic patterns like marble or watercolor effects that would be incredibly difficult or time-consuming to achieve freehand. It’s about working with the product’s natural tendency to spread, rather than fighting against it with precise manual application.
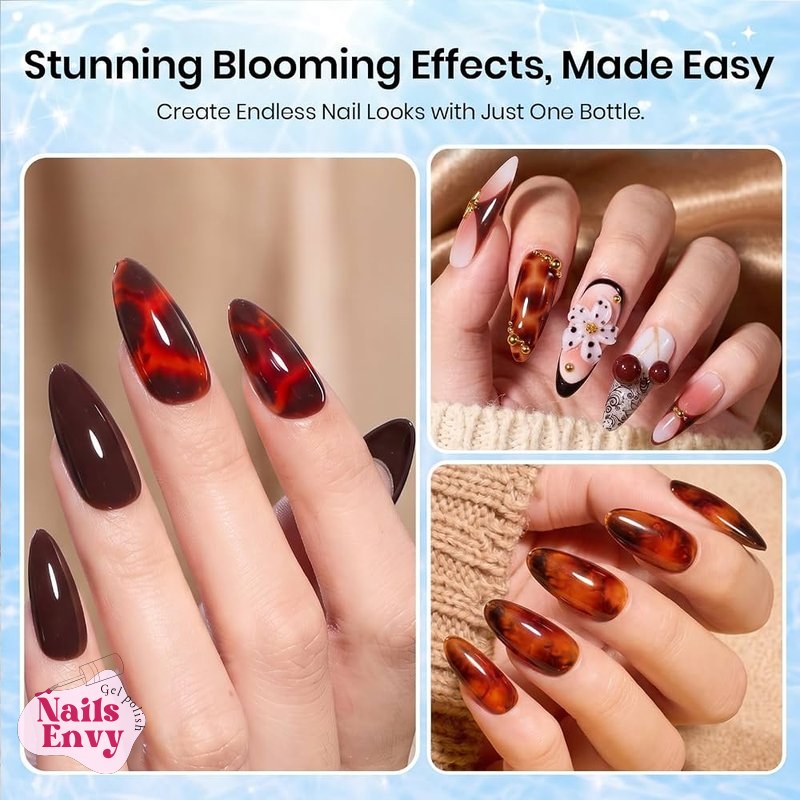
The ease of blooming gel compared to stamping and decals
Nail stamping and decals offer a quick and easy way to apply consistent patterns to nails, making them popular choices for beginners. Stamping involves transferring a design from an etched metal plate onto the nail using a silicone stamper. Decals are pre-printed stickers that you simply adhere to your nail.
While convenient, stamping and decals often result in more uniform and less organic patterns. Blooming gel nail polish provides a more artistic and unique outcome. Each design created with blooming gel is slightly different, even if using the same technique, giving your manicure a handcrafted and one-of-a-kind feel. It’s a fantastic middle ground for those who want intricate designs without the extreme difficulty of freehand or the sometimes rigid look of stamping/decals.
Frequently asked questions about blooming gel nail polish
What exactly is blooming gel nail polish?
Blooming gel nail polish is a clear gel specially formulated to make other gel polishes spread and create unique, organic patterns like marble, watercolor, or floral designs. It’s applied as an uncured layer over a base color before dropping contrasting gel colors onto it.
Is blooming gel difficult for beginners to use?
No, blooming gel is surprisingly beginner-friendly. While it requires a bit of practice to control the spread, the technique is much simpler than traditional hand-painting. Most users can achieve impressive results after just a few attempts.
Do I need a special lamp to cure blooming gel?
Yes, blooming gel nail polish, like other gel polishes, requires a UV or LED nail lamp to cure and harden properly. The curing time typically ranges from 30-60 seconds under an LED lamp or 2 minutes under a UV lamp.
Can I use any gel polish with blooming gel?
Most regular gel polishes work well with blooming gel. However, results can vary depending on the pigment and consistency of the colored gel. Experiment with different brands and colors to find what works best for your desired effects.
How long do blooming gel nail designs last?
When applied correctly with a good base and top coat, blooming gel designs will last as long as a standard gel manicure, typically two to three weeks, without chipping or fading.
Embrace creativity with blooming gel nail polish
Blooming gel nail polish offers an exciting and accessible way to elevate your manicure game, allowing you to create intricate and artistic designs with surprising ease. Whether you dream of elegant marble patterns, delicate watercolor blossoms, or bold abstract art, this innovative product makes it all possible. It empowers both seasoned nail artists and beginners to explore their creativity and achieve salon-quality results right at home or in the salon.
The unique spreading properties of blooming gel differentiate it from other nail art techniques, providing a more organic and fluid aesthetic. By following a few simple steps and embracing a little experimentation, you can unlock a world of stunning nail art possibilities. We encourage you to try out this fantastic product and see for yourself the beautiful effects you can create. For more inspiration and professional nail services, visit us at Nails Envy and let us help you achieve your dream nails. Discover more about this amazing technique on our dedicated page: blooming gel nail polish.